For some reason, it seems as though the
classic Four Channel Luggage rack was abandoned by the design engineers
when they decided to create a detachable world for the Harley bikes.
Currently, if you want detachable convenience, you have a choice of the
huge "Two Up Detachable Rack" with the rails, or an add-on rack for your
detachable Passenger Backrest. Either way you go, there are compromises
over the versatile Four Channel setup.
Many owners are unhappy with the position of the detachable passenger
backrest, and complain about its height, as well as its forward tilt and
its placement over the passenger seat area. There is no adjustability to
the detachable backrest.
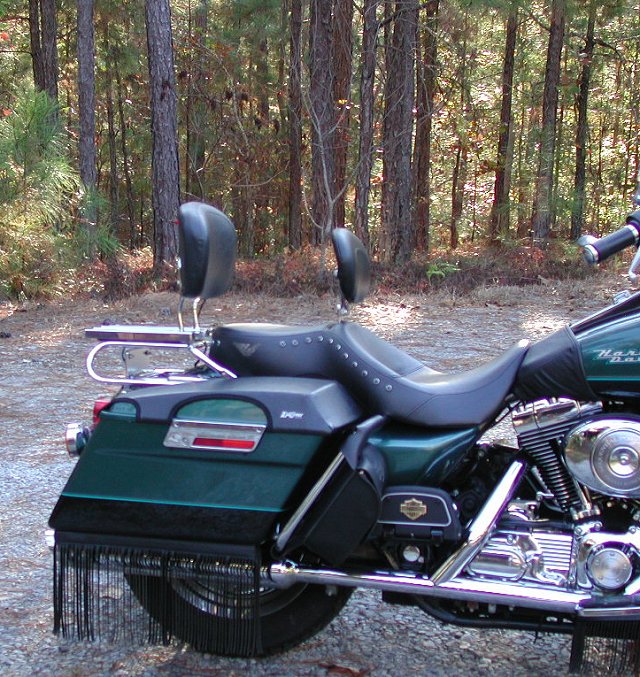
The hard mounted Four Channel rack incorporates a passenger backrest,
which has a slightly more upright profile, and can be slid forward or
backward approximately 1.5" to create more or less space on the seat.
With its flat top and no rails, the rack can also accommodate a wider
variety of luggage types.
Creating a detachable Four Channel rack is not a less expensive option
than your other choices. In fact, it might even cost a few bucks more,
but you get the ability to adjust the backrest pretty much anywhere you
want it, and the convenience of a flat, sturdy rack, and instant removal
or interchangeability with other accessories.
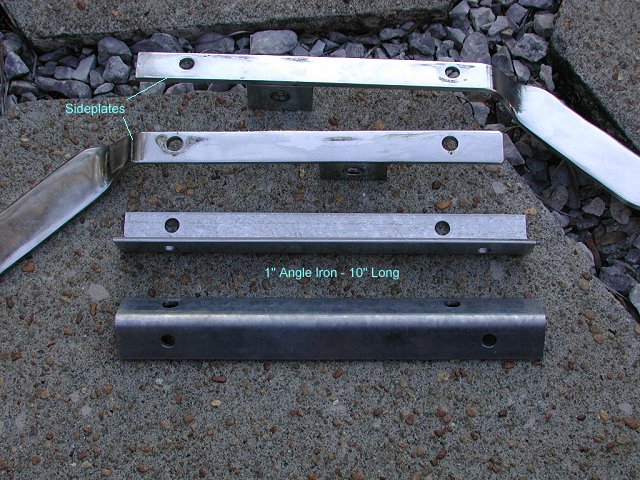
What we did was simply bracket the Four Channel Rack and backrest
assembly (part Number 53341-97) to a detachable Tour Pak Rack (part
number 53107-96), swapping the Four Channel mounting plates for angle
iron brackets.
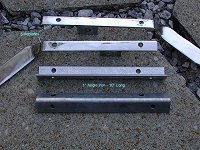
1:
Cut the Brackets
First, cut two sections of 1" angle iron 9" to
10"
long, then match them up to the side plates to mark locations
for the two holes to mount them to the Four Channel Rack.
|
 |
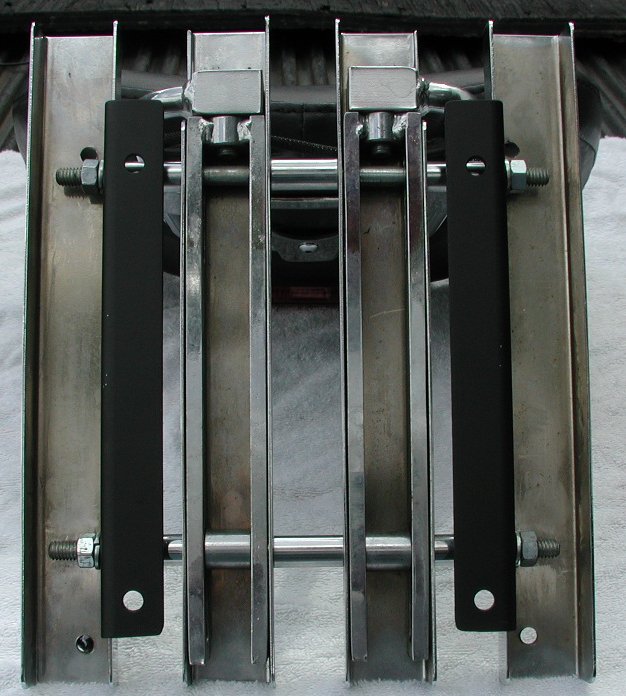
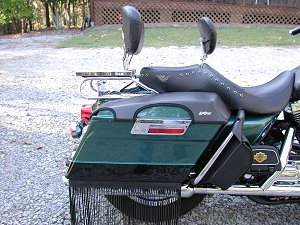
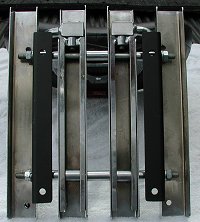
2: Placement
Temporarily mount the brackets to the Four Channel
assembly, and place the assembly on top of the mounted Tour Pak
Rack to get the desired placement position. Mark the location of
the Tour Pak Rack cross members on the new brackets and the
bracket edges on the Tour Pack Rack cross members
For best results, you should have the backrest
pushed all the way to the rearmost position on the Four Channel
assembly.
After drilling the mounting holes in the Tour rack,
place the Four Channel back into position, and mark the angle
iron brackets for the new tour rack holes.
|
 |
Remove the
angle iron brackets from the Four Channel assembly and drill the
matching holes for bolting the assembly to the Tour Rack.
The Tour Pak Racks
come with a set of chrome mounting bolts to bolt the tour pack
on, so you can use those as mounting bolts for the Four Channel
setup, and select drill size accordingly.
|
|
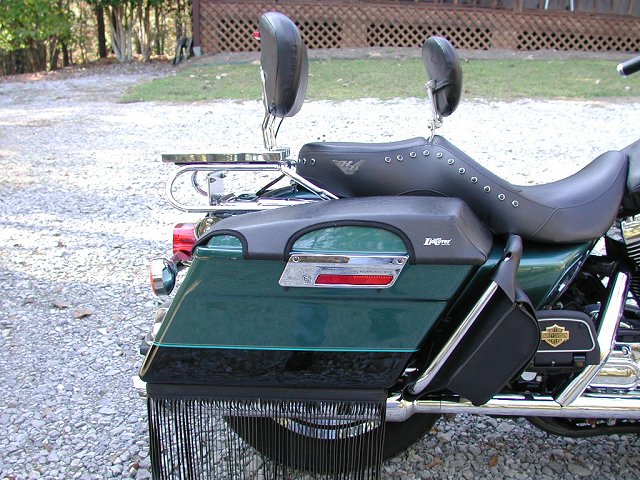
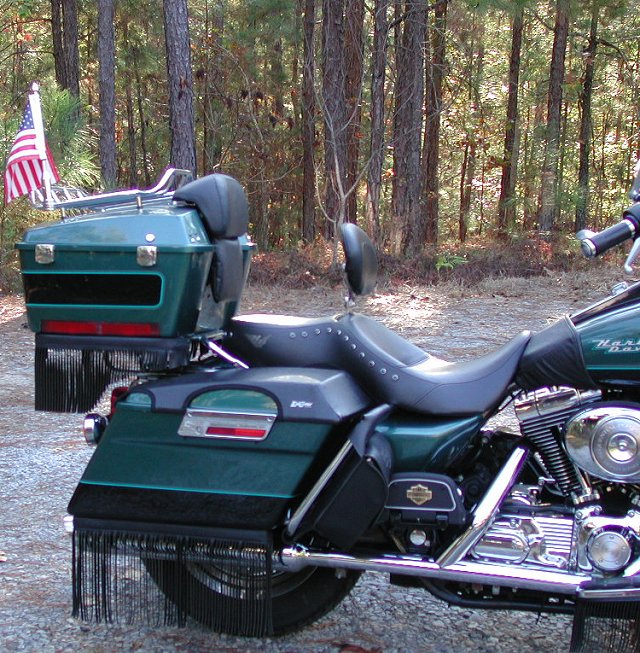
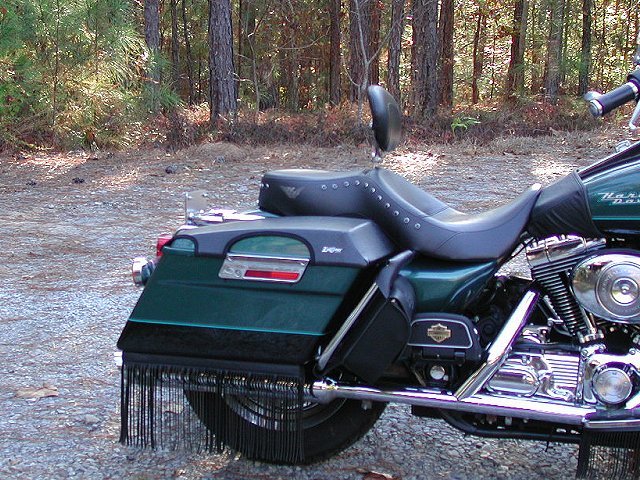
Now you have
the versatility and adjustability of the Four Channel Rack, AND
the convenience of quick and easy removal!! :-)
|
|
Tour Pak Rack Note:
Mounting the Tour Pak Rack to the bike requires using the Front
Docking Hardware set (part number 53104-97A) and the Rear
Docking Hardware set (part number 53127-96B).
|
Some Helpful Numbers:
|
Four Channel Luggage Rack |
Part Number 53341-97 |
$194.95
(Does not include Pad) |
| Detachable Tour Pak Rack |
Part Number 53107-96 |
$174.95 |
| Front Docking Hardware Set |
Part Number 53104-97A |
$11.95 |
| Rear Docking Hardware Set |
Part Number 53127-96B |
$34.95 |
| Large Oval Top Stitched Pad |
Part Number 52886-98A |
$99.95 |
|
Total Project Cost |
$516.75 (MSRP) |
| For comparison
purposes, a detachable backrest & pad with the Two-Up Luggage
rack would cost $516.70, and a detachable backrest & pad with
mounted luggage rack would cost $471.75 |
|