There are many choices of handlebars out
there for the mighty Road King. You can get them high,
low, flat, radically pulled back, and fat as a pig. The
varieties seem endless, but sometimes you just want a
little more height and pullback to your favorite set
without spending months trying to find the right
replacement set.
I love the hand position of stock Road King bars, but I
need more height and pullback for long distance comfort,
and after purchasing and trying out several different
types of bars, I discovered that all I really wanted was
risers under my stockers. I even tried a set of Road King
High Bars, but they did not add enough height, and the
extra pullback changes the hand position.
If you own a Road King, then you already know that the
problem with adding risers to this bike lies with the use
of a solid OEM riser cover that becomes an integral part
of the Nacelle assembly. This can be dealt with by
changing to an aftermarket riser cover, or modifying your
OEM cover.
Note: By the time I had tried out so
many bars, I had added extended cables, wiring and brake
hose to my bike, but I have seen a Road King with the
same risers that I use, with stock cabling, so adding
risers is do-able without the need for extended cables
hoses and wires.
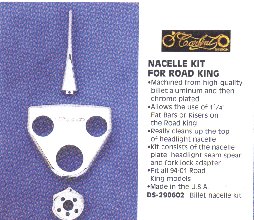
| OPTION 1:
The Expensive Way |
Made By Carlini, Distributed by
Custom Chrome, and offered through J&P
Cycles, Dennis Kirk, and your local dealers, the
billet cut Road King Nacelle Kit allows the
addition of risers with no alterations to your
OEM equipment...
...at prices starting from $259.00 !!
|
 |
OPTION 2: The "Moccasin" Way
If you own a Dremmel Tool, and a little patience,
you can modify your OEM cover to accept risers. |
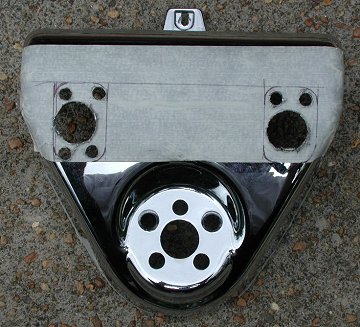
The OEM Nacelle Cap is marked by
first taping the surface with masking tape. Then,
with an assitant holding it next to bolted on
risers, the locations are marked using a ruler to
transfer the lines from the risers to the tape.
Mark with the cap held to the side, and also to
the front.
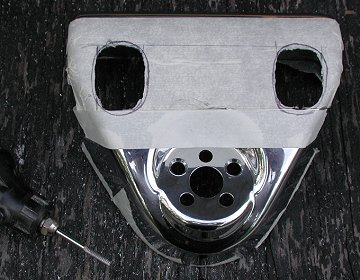
Holes are then drilled to remove a good portion
of the metal. This saves a lot of time in the
next step.
|
 |
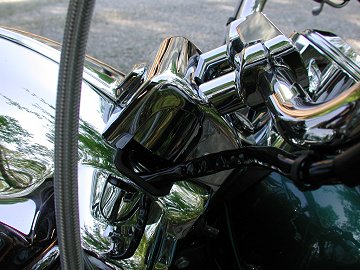
Using
a Tungsten Carbide cutting bit in a Dremmel tool,
the metal is removed out to the marked lines on
the tape. Work slow and easy.
Test fitting the risers into the holes showed
that I needed more clearance, so after initial
cutting, the lines were extended freehand to
allow more room for the risers to move slightly.
(Risers are rubber mounted and will move slightly
once installed)
|
|
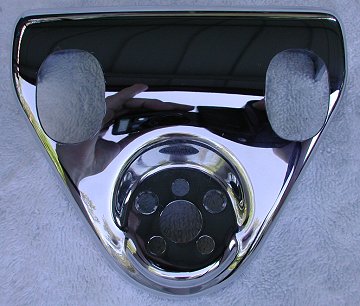
By
the time you get to your lines, you will be
pretty good at cutting clean smooth lines with
the Dremmel. Remove the tape and clean up any
uneven edges.
Using some 600 grit sand paper, polish the edges
of your cuts, then seal them with a few coats of
clear touch up paint.
You should do a complete installation of risers and
handlebars before finishing the
edges, as you may find that you need a little
more cutting here and there after full
installation.
|
|
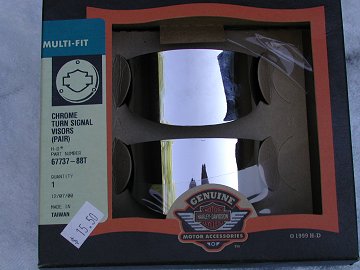
To fill the side holes, I purchased a
set of Harley turn signal visors, part no. 67737_88T.
These visors have a mounting tab welded to the
inside, and have no lip or flange along the
straight edges (which will be exposed).
Cover the entire visor with masking tape, and
mark its exposed area by holding it inside the
cover and tracing the opening. I had to trim
about half an inch off one end to make it fit
where I wanted it.
Grind away the mounting tab, then using a vice or
sheet metal pliers, flatten the visor out to
match the inside surface of the cap, leaving the
exposed areas untouched.
|
|
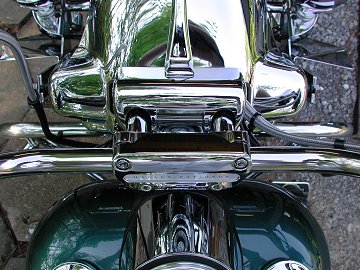
Hold the visor in place with a soft
clamp, and drill through the assembly for a
single rivet. It is mounted with the straight
edge down, leaving a half inch gap at the bottom
for nacelle clearance. You can polish the rivet
head with your Dremmel if you want.
Apply silicone adhesive to all mating surfaces,
then fasten the visor with a single rivet.
Bending and flattening the visor causes breaks
and cracks in the chrome surface, so as an added
measure, I coated the entire inside surface of
the visor with silicone adhesive, to prevent rust
or corrosion.
The exposed surface of the visor is not bent or
flattened, so there is no damage to the chrome
there.
|

|
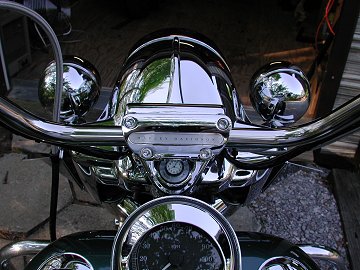
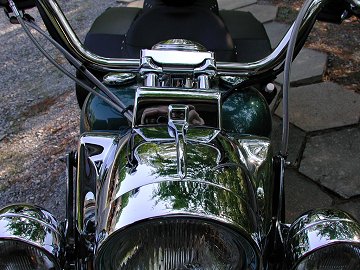
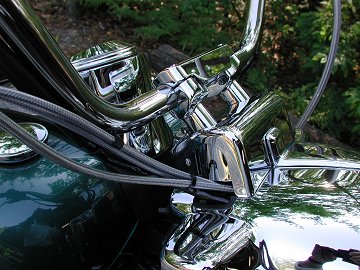
Now, not only can you easily make
minor adjustments to your bars, but you can
change bars to suit your tastes without the
hassle of headlight removal.
This project was done using a set of 4"
pullback risers and stock late model Road King
bars.
|
 |
|
|
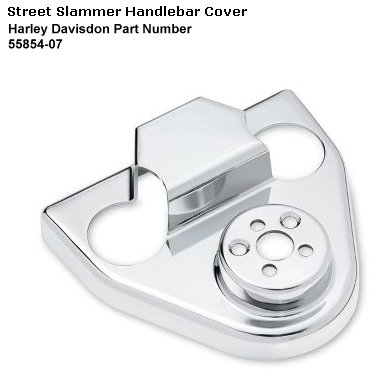
2006 Update!!!
Looks like the engineers at the Motor Company must
have read my page!
Harley now offers a "Street Slammer" nacel cap that comes with riser
holes already molded in. Ain't that nice?? :-)
Gotta say, the price ain't bad either, at $29.00 (as of 8/06)
Harley Part Number 55854-07
|