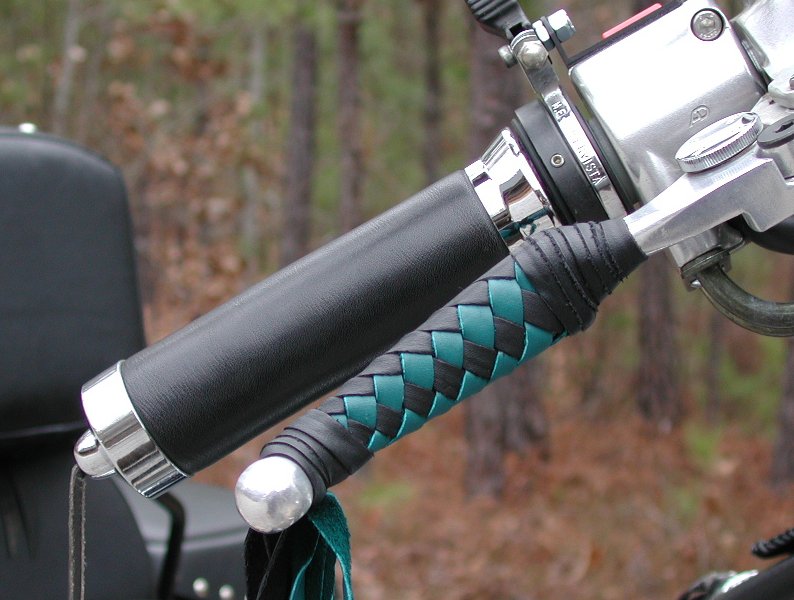
Wide Blades & Iron Braids |
Teaming up Homemade tricks and "Iron Braid's" magic for some awesome levers! |
|
|
If you are not familiar with "Iron Braid"
this is a wonderful custom leatherworks and accessory shop in New
York and is the place to go for some wild and superbly done
leather braiding.
Anthony Bendetti, the president of Iron Braid has a very talented
crew of artisans that can braid just about anything but your old
lady, and if you can get her to sit still long enough, ...maybe
...well ...nevermind....J
They offer many color combinations in their braids and also carry
chromed wide spoon blade levers for other makes and several other
much sought after goodies. Pay them a visit and order up a
catalog if you're interested. Great folks to work with and very
courteous and prompt e-mail responses.
Wide Spoon Blade levers are readily available
for many cruisers on the road today, and are a major starting
point for many Iron Braid custom levers. Unfortunately they are
not yet available for the LC 1500 Intruder. Leaving the Iron
Braid LC Intruder customer with only the option of having his
skimpy OEM levers braided.
I've been looking for wide spoon blade levers to have braided by
the Iron Braid Company to replace the spaghetti levers on my LC.
No such thing, and due to those really inovative (read that
practically useless) "Dial-a-Lever" knobs, nobody seems
very interested in producing any.
Well, if ya can't buy them...MAKE them!
I didn't want to waste a perfectly good leather custom job on my
skimpy levers, just to find out two months later that somebody is
going to start making them. So....I decided to pull out an old
custom chopper building trick and "mold" my own.
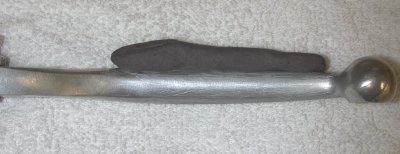
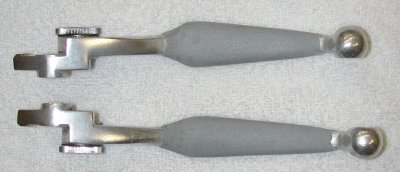
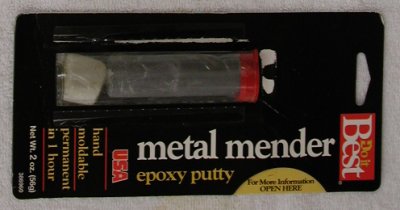
After rough sanding the levers for some bite, I used "Metal Mending" Epoxy Putty,
(available from most hardware stores) and just finger molded the
epoxy to the levers, shaping it into what I considered "about
right". Then after a few minutes curing time, I sanded the
epoxy smooth.
Start by rolling a small half inch chunk of thoroughly mixed putty into a two inch tapered roll, then press it onto the side of the lever, and work it into the shape you want, working it down thinly around the front of the lever. It will be joined shortly by the second half.
|
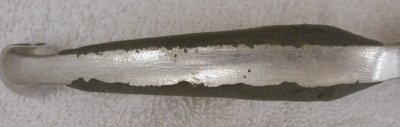
Work quickly and use a flat surface such as the edge of a table to make a clean straight edge. As soon as you get it like you want it, quickly mix up a second chunk of putty and begin applying it to the opposite side of the lever, working it up into the edge of the first before the first can set up completely. Leave the back of the lever uncovered, as you don't want to reduce the travel of the lever to the grip any more than just the thickness of the leather.
|
When you are finished, let it cure for about an hour, then rough sand the epoxy with some 250 grit sandpaper to smooth out any rough spots and fine tune the shape. Then finish sand with some finer paper for a really smooth surface.
|
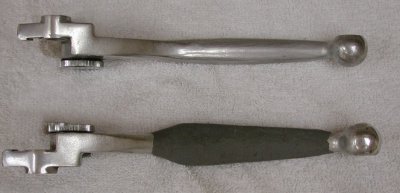
Now for the fun part....See if you can make another one that
looks just like the first one!! HAHA!!
|
Remember, the levers are going to be covered with leather, so
don't make them too big, and don't worry about small
imperfections or slight differences in size or shape, because
your hands won't know the difference through the leather.
|
Start this project when you have about a week or ten days of
bad weather moving in and by the time the sun comes out you'll
have some gorgeous levers and a new attitude on your fabulous LC
1500!
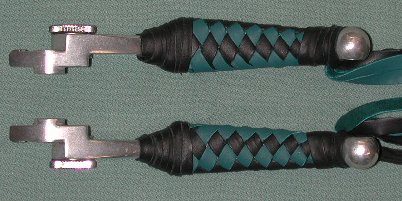
The Iron Braid treatment is available with or without fringe and
also with braided Bolos for a different look.
Many thanks to Tony and the gang for the final touches...
...and a very hearty thank you to whoever invented Epoxy Putty!!
:-)
Note - If you are looking to match colors to a Black and Teal '99 LC, the "Aqua Pearl" is a near perfect match.
